
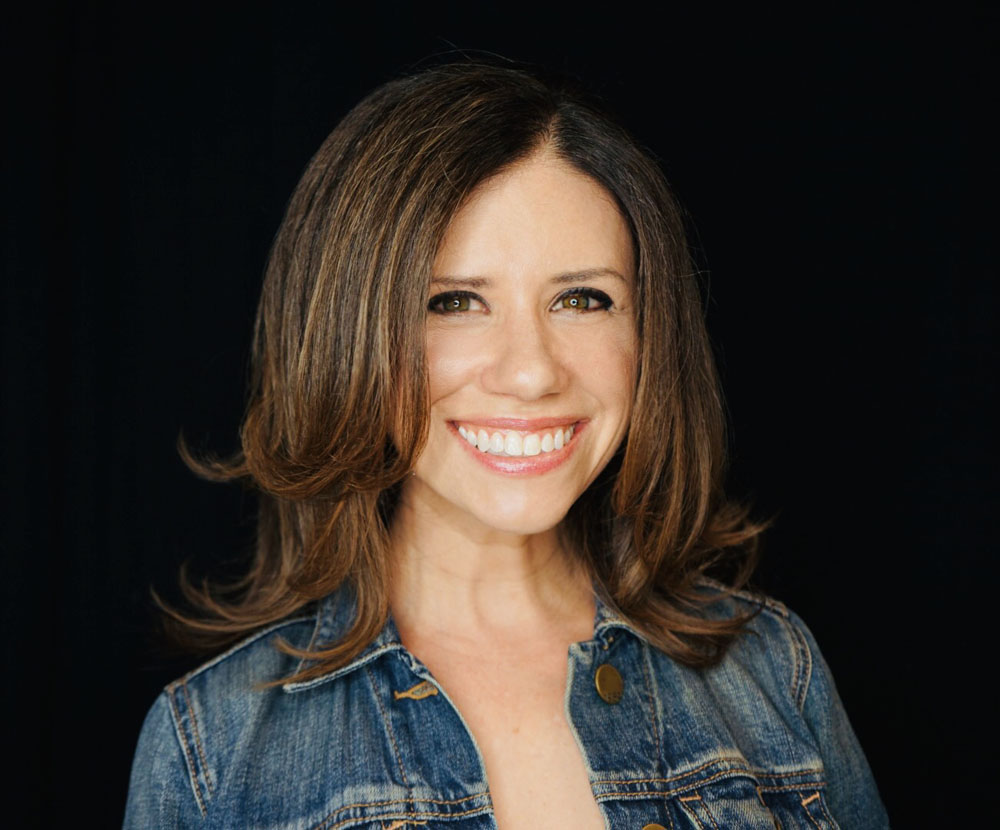
BY MANDY SILVERMAN
There are many ways to bake challah and Mandy Silverman offers no less than 370 varieties. Her sweet and savory braided loaves are topped and stuffed with ingredients you never imagined, like caramelized onions and brisket, molten peppermint chocolate and rainbow cupcake batter.
Known as the “Challah Guru” this Massachusetts baker offers recipes, guidance and endless inspiration for challahs. She shares her creations with 40,000 followers on Instagram.
“I started off as a local business in 2013, Mandylicious, cooking from my home,” said Silverman, a wife and mother in her early 40s. With only a year of practice, she began turning out challahs with “crazy, fun things. I had so much experience with all this weirdness.”
From her home, she sold 30 a week. Then she took her baking business online and became an Instagram influencer. Her posts went viral. She showcases her challahs and answer questions about making them. “Word of mouth has been really helpful. I realized that my platform was better served there, as a way to teach people how to make challah and give out recipes.”
Silverman has made every baking mistake, “so I was really able to help people.” She also teaches classes on Zoom in the past few years and more recently returned to in-person classes.
Her mother inspired her to start with the basics – a slightly sweet loaf with a shiny, golden crust and pillowy-soft interior. Mom longed for a neighbor’s honey-layered challah, but was told it was a secret recipe. “I said, Mommy don’t worry. I will figure out how to make it. After several attempts, she got it right. “At some point, you get exhausted from failure because it’s not like making a pancake. You know right away, but a challah takes hours to see if something is wrong with the taste or the texture.”
Then came buffalo chicken (her husband’s favorite), Indian food (a friend’s pick) salami and cookie dough, to name a few. She would make special flavors for friends for their birthday and a Thanksgiving variety braided to resemble a turkey beak and feathers.

The biggest challenge in making a challah is getting the dough texture right. “When you make the dough you want it to end up being tacky, but not sticky. You don’t want it to be too dry because the dough doesn’t have enough leeway to rise. If it doesn’t have enough give, it will taste doughy and dense.
“With a challah, you have to use your own judgment because the dough will change consistency depending on humidity levels outside if it’s raining.”
Silverman uses King Arthur bread flour. “If you use all-purpose flour you are going to have to use a lot more flour. Or sometimes you have to add water to get it just right.”
Silverman is modern Orthodox and says she connects to her Judaism through challah baking. She grew up in St. Louis and went to University of Michigan in Ann Arbor. She was in the public relations field before she turned to challah baking.
She has no immediate plans for a cookbook. She feels like there are too many out there and recipes are widely available on the Internet.
She looks forward to teaching more classes in the fall. “I’m doing a Rosh Hashana meal, the whole meal which I’m very excited about.”
Silverman said that teaching first-timers is personally rewarding. “It’s the most amazing thing to be able to teach people like that. They think they can’t do it, like they’re very scared. When they’re successful and happy that’s like the best gift you can give someone.”
To reach Silverman about challah-baking opportunities, follow her on Instagram at @mandyliciouschallah or email her at mandylicious@mchallah.com.
Equipment needed (many available from the Mandylicious Amazon store): bowls, measuring cups and spoons, scale (optional), towel, rolling pin (or round object for rolling like a glass or can), basting brush (or paper towel), baking sheet or loaf pan, parchment paper (optional), bread machine (optional)
Traditional with Vegan Option Dough
- 1 1/3 cup water
- 4 ¼ cup high quality bread flour
- 1/3 cup canola oil
- Generous ½ cup sugar
- 4 large egg yolks
- 1 tablespoon *instant* yeast
- 2 teaspoons table salt Extra water and flour as needed for consistency
To make vegan: in place of egg yolks, increase water amount to 1 1/2 cups and oil amount to 1/2 cup
Directions:
Add dry and wet ingredients to a bread machine in the order specified by the manufacturer. Set machine for “dough” cycle.
Or
If not using a bread machine, combine all the ingredients in a large bowl and knead for 5-7 minutes by hand or by using the dough hook in a stand mixer. To reach desired consistency: if sticky, add additional flour, 1 tablespoon at a time; if dry, add additional water, 1 tablespoon at a time.
Allow to rise in a large bowl, covered with a towel for 1 ½ hours.
When the dough cycle is complete, remove dough from the bread machine or bowl, and divide into 6 equal portions. On a floured surface, roll three portions into long ropes, then carefully braid together, then place on a greased loaf pan or greased cookie sheet. Repeat with remaining dough. Cover with a towel and let rise for an additional 20-30 minutes. Preheat oven to 350 degrees.
To Finish:
Brush with an egg wash (Vegan: use oil or melted margarine)
Bake for approximately 30-40 minutes or until golden brown.
Dough Pointers:
- Please note that the recipe calls for bread flour and instant yeast.
- Bread flour is more glutenous than all-purpose flour so it helps the dough ball up easier. You can use all-purpose flour but be prepared to use a considerable amount more and the texture will not be quite the same.
- Instant yeast does not need to be proofed. This means that it can just be added in with the rest of the ingredients in no particular order. Avoid quick rise or rapid rise yeasts, but if you are only able to get active dry yeast, you can use it you just have to proof it first.
- To proof active dry yeast use the same amount (1 tablespoon) but add it to 1/3 cup 105 degree water and a pinch of sugar, and mix. When it bubbles the yeast has been activated and can be added to the rest of the ingredients. Use 1/3 cup less water in the rest of the recipe.
- Dough consistency is CRUCIAL! Dough that is too wet will be hard to shape and won’t bake properly. Dough that is too dry will not rise well and taste dense and floury. The goal is to create a cohesive ball of dough that is not floury to the touch. Dough consistency can vary from kitchen to kitchen based on weather, humidity levels, and type of flour used. You can get your dough to the proper consistency simply by adding four or water, one or two tablespoons at a time, as the dough comes together, BEFORE the first rise (dough consistency will NOT improve as the dough rises). If you live in a particularly humid area or are finding that you are having to add a lot of flour, try using 1/3 cup less water at first and adding more as necessary.
- After the first rise, dough can be refrigerated for up to five days or frozen for up to a month.
- If you have any problems or questions, Direct Message @mandyliciouschallah on Instagram!


0 Comments